It's 9:45 at night and you have a new client starting tomorrow. You open Gmail to find their intake paperwork, and there it is, sitting between a grocery receipt and a newsletter you never read. A PDF called intake_FINAL_v2. And a small voice in your head asking whether this is actually okay.
That voice is reasonable. You're holding other people's private information, and somewhere along the way you ended up piecing together a system out of whatever was already on your laptop. Most solo clinicians do.
The good news is that Google Workspace is one of the most practical places to build a real system, and you can set the whole thing up in about an hour. Keep reading and have your admin console open in another tab so you can follow along.
The short answer: yes, you can use Google Workspace for a private practice. Two things have to be in place before any client information goes in: a paid Workspace plan on your own domain and a signed HIPAA Business Associate Amendment (BAA) with Google. After that, you turn on a few security settings and you're ready to build.
Why a Personal Gmail Account Won't Work
Quick note before we start, because this trips up a lot of people.
A free @gmail.com account has no admin console. The admin console is the only place a BAA can be accepted. So even if you're careful with every email you send, a personal Gmail account can't be set up in a HIPAA-ready way. You need a paid Workspace account that's managed through the admin console.
What You Need Before You Start
A domain you own, like yourpractice.com. If you already have a practice website, you probably own one.
A paid Workspace plan. Business Starter is the entry level and works for many solo practices. Google changes what each plan includes from time to time, so compare the plans on Google's Workspace pricing page before you pick. Want 10% off your first year? Check out HERE under GWS section.
A person to be the super administrator. For a solo practice, that's you.
About an hour.
Step 1: Sign Up and Verify Your Domain
Go to workspace.google.com and click Get started.
Google will ask for your business name and how many people will use the account (if it's just you, choose the smallest option). Then enter the domain you already own and create your first user account.
That first account is your super administrator account. Remember that, because you need it for Step 2.
Next, Google asks you to prove you own the domain. You'll add a small TXT record wherever you bought your domain. Google's setup wizard shows you the exact record and has instructions for the most common domain providers, so you're copying and pasting instead of guessing. The wizard also walks you through the MX records that point your email to Gmail.
Adding these records doesn't change your website, as long as you leave your existing website records alone.
Step 2: Accept the HIPAA BAA (Before Anything Else)
This is the step that matters most, so do it before you upload a single client document.
Go to admin.google.com and sign in with your super administrator account. The BAA can only be accepted from that account.
Click the Menu icon in the top left, then go to Account, then Account settings, then Legal and compliance.
Scroll to Security and Privacy Additional Terms and click Google Workspace/Cloud Identity HIPAA Business Associate Amendment to read it.
Click Review and Accept, answer the questions confirming that you're a HIPAA covered entity, and accept.
Take a screenshot of the Legal and compliance page showing your acceptance and save it somewhere you can find it later. Google says a screenshot works as proof of electronic acceptance.
One honest caution: signing the BAA is the contract piece, not the whole picture. You're still responsible for your own HIPAA policies and risk assessment, and a HIPAA compliance professional can look over your setup if you want a second set of eyes. This post is general education and not legal advice.
Keep Your Audit Logs Longer Than Google Does
HIPAA expects you to record and review activity in the systems that hold client information. In Workspace, your audit log is how you do that. It shows who signed in, what changed in your settings, and who opened or shared which files.
Here's the catch. Google keeps most audit logs for about six months, and you can't change that setting. After that, they're gone. Many practices keep their logs for six years to match HIPAA's rule for keeping security documentation, and your state may require records to be kept even longer. If you haven't set anything up, your audit trail is quietly expiring.
Here's what to check and what to do.
See what you have. In the admin console, go to Reporting, then Audit and investigation, then Drive log events. The date filter defaults to the last 7 days, so change it to look back further and see how far your logs actually go.
Route 1: Send your admin and sign-in logs to Google Cloud. In the admin console, go to Menu, then Account, then Account settings, then Legal and compliance, then Sharing options. Turn on sharing with Google Cloud and save. Those logs then flow into Google Cloud, where you can set a longer retention period. This route is more technical, it needs a Google Cloud account (check Google Cloud's pricing for log storage), and your Drive and Gmail activity don't come along with it. If that sounds like a lot, Route 2 on its own is a solid place to start.
Route 2: Export your logs every month. First, create a Drive folder called Compliance and keep it private to you. It's also a good home for your BAA screenshot from above. Then go back to Drive log events and click Export all. The results save to Google Sheets. Put the month in the file name and move the file into your Compliance folder. If you're skipping Route 1, export your Admin log events and Login log events the same way.
Write down that you reviewed them. Each time, note the date you looked and anything that seemed off, like a sign-in from a place you've never been. A running Google Doc in your Compliance folder works fine. Keep those notes for six years.
Check your state. Look up your state's record retention law and your licensing board's rules. Then keep your logs for whichever period is longer: what they require or HIPAA's six years. Step 8 shows you how to put the monthly export on your calendar so you don't have to remember.
Step 3: Turn On 2-Step Verification
A password alone isn't enough for a mailbox that holds client information. 2-Step Verification adds a second check every time someone signs in.
In the admin console, go to Security, then Authentication, then 2-Step Verification. Check the box to allow users to turn it on, then set enforcement so it's required for your account. You'll choose a start date and which methods are allowed. Security keys are the strongest option, and a prompt on your phone works well too.
After you save, sign in on each of your devices once so they pick up the new requirement.
Step 4: Lock Down Sharing in Drive
By default, Drive makes it easy to share files outside your account. For a practice, you want that to be a deliberate choice instead of an accident.
In the admin console, go to Apps, then Google Workspace, then Drive and Docs, then Sharing settings. Turn off sharing outside your organization, or at the very least set it to show a warning first. Also make sure "anyone with the link" public sharing is off.
Your clients can still fill out your Google Forms. In each form's settings, make sure the option that restricts responses to people in your organization is switched off, so a client can open the link without needing a Google account tied to your practice.
Step 5: Know Which Google Apps Are Covered
The BAA only covers the services on Google's HIPAA Included Functionality list. Anything not on that list stays out of your client workflow.
You can find the current list on Google's HIPAA compliance page. It changes over time, so check it instead of trusting a blog post (including this one). The apps most solo practices use are on it right now:
Gmail
Google Drive
Google Docs and Sheets
Google Forms
Google Calendar
Google Meet
Google also has consumer services like YouTube that aren't on the list. To keep things tidy, go to Apps, then Additional Google services in the admin console and turn off the ones you won't use.
Step 6: Set Up the Pieces You'll Use Every Day
Now for the fun part. With the BAA signed and your settings locked, you can build the system you actually work in.
Drive: Set up a folder structure so every client's documents live in the same place. I walked through the whole thing in How to Set Up a Client Intake Folder System in Google Drive.
Forms: Build your intake form, consent for treatment, and practice policies as Google Forms. End each one with a simple agreement: a checkbox confirming the client has read and agrees to the document, a spot to type their name, and a date field. Responses land in a linked Sheet automatically.
Is a checkbox really a signature? In most situations, yes. Under the federal E-SIGN Act and state electronic signature laws, an electronic signature carries the same legal weight as ink on paper, and HIPAA accepts electronic signatures that are valid under applicable law. Checking that box, typing a name, and entering a date is the digital version of handing someone a clipboard and a pen.
A few things make it hold up:
A clear statement that the person is agreeing to the document
A typed name and a date
A record of when it was submitted, which Google Forms adds for you as a timestamp
A way to tie the response to a person, so turn on Collect email addresses in the form's settings
This is general information and not legal advice. If a specific document has its own requirements in your state, confirm that with a professional.
Calendar and Meet: Use Calendar for your sessions and add a Meet link to each telehealth appointment. Keep event titles minimal, like a session type or initials, so your calendar never shows more than it needs to.
Billing: Workspace doesn't handle invoicing or payments. Whatever billing tool you pair with it needs its own BAA before any client information goes in.
Step 7: Test It Like a New Client
Before a real client touches any of this, go through it the way they will. It takes about 15 minutes and it's the fastest way to catch the small stuff.
Open a private or incognito browser window so you're not signed in as yourself, then open your intake form link. If it asks you to sign in to Google, go back to Step 4 and check the form setting that restricts responses to your organization.
Fill the form out with fake information, check the agreement box, type a name and date, and submit it.
Open your linked Sheet and confirm the response landed with a timestamp.
Create a test appointment in Calendar with a Meet link, send the invite to a second email address you own, and join from your phone to check your camera and microphone.
Delete your test responses from the Sheet and the form when you're done.
If anything felt confusing, a question that didn't make sense or a link that was hard to find, fix it now. Your clients will feel the same friction you just did.
Step 8: Put a Quarterly Check-In on Your Calendar
Settings drift. A new device gets added, a sharing option gets changed, a log ages out. A short recurring check keeps it a ten-minute task instead of a project you dread, and a monthly rhythm means your log exports never come close to the six month cutoff.
In Google Calendar, create an event called Workspace check-in.
Set it to repeat monthly.
Paste this checklist into the event description:
Export your Drive log events (and Admin and Login log events if you skipped Route 1) to the Compliance folder
Write down the date you reviewed them and anything that looked off
Confirm 2-Step Verification is still on
Review who has access to your Drive folders
Check Google's HIPAA Included Functionality list for changes
Stuck on a setting, or not sure something fits your practice? Bring your questions to the Private Practice Tech Club, our free Facebook group for solo practice clinicians.
Want an easier way to organize your practice?
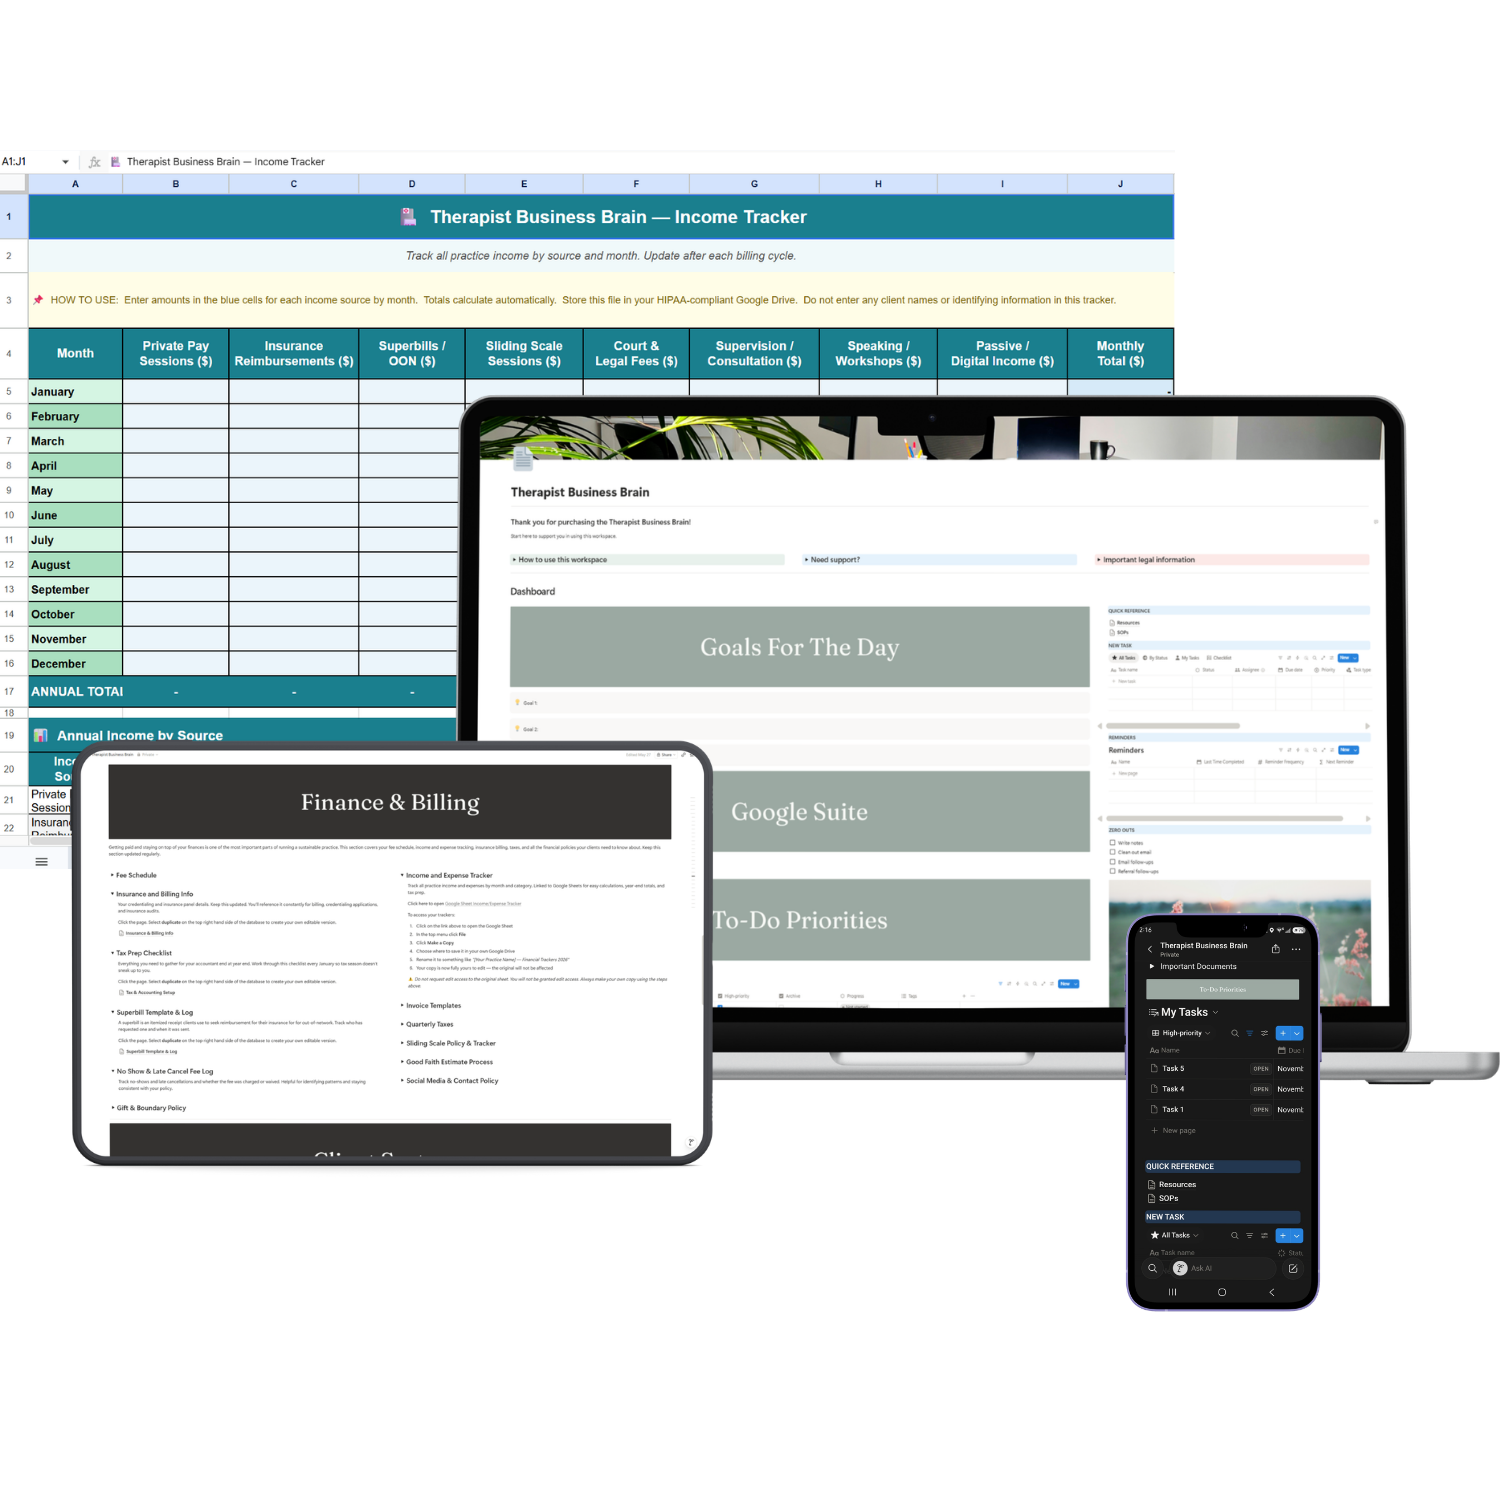
If you’d love one home base for the business side of your practice, take a look at the Therapist Business Brain. It’s a Notion workspace built for solo and group practices and it works on the free Notion plan. There are spaces to add this blog information too and your files so your business planning finally lives side by side. Like everything I make, it’s for business information only. Client details never go in Notion.